Yesterday, I came across an amusing anecdote. An employee, let us call them Employee A, recently announced their intention to leave their current job. Surprisingly, the very next day, they were presented with a new job title and a slight salary increase to retain their services. Does this situation sound familiar to you? Have you ever encountered a similar strategy? Rather than addressing the underlying reasons behind an employee’s desire to leave, it seems that offering incentives to stay has become a customary practice. It is interesting to consider how long it will take for this information to disseminate throughout the organization. It appears that simply threatening to leave can result in a promotion and a raise.
Factors leading to employees deciding to leave their current positions.
Reflecting on my own career, I have encountered numerous learning experiences that have helped me enhance my ability to retain top-notch employees. Considering my track record, I believe I have been quite successful in this regard. When I transitioned from my position at Company Y to Company Z, an astonishing fourteen employees reached out to express their interest in joining me. It was a remarkable display of loyalty, and it prompted me to examine my individual actions and managerial approach. I sought feedback from those who reported to me, asking them why they wanted to work where I was working.
Here are some of the responses I received:
- You consistently demonstrated honesty with me.
- You displayed genuine concern for me as a person and as an individual.
- I trusted you because you always followed through on your commitments.
- I witnessed you transform the work environment, making it a safe place for employees.
- You showed a genuine interest in advancing my career.
- I knew I could rely on you to support me.
- You were transparent in your communication with me.
- Whenever I had a question, you acted as a mentor, teaching me or guiding me to the right resources when you didn’t have the answer.
Please understand that I am not attempting to boast, but rather emphasize that I learned valuable lessons by posing these challenging questions to my employees, which helped me maintain a growth-oriented mindset. The results were evident: while working at Company Z in 2022, during what analysts referred to as the “Great Resignation,” we only lost six employees. Additionally, we onboarded another seventy employees during the same period.
What I learned; Real world lessons on how to retain employees successfully:
Based on my research on why employees leave their current positions, I discovered that a significant factor is the lack of career growth and development opportunities. When employees perceive limited chances for advancement or feel that their professional growth has become stagnant, it can lead to dissatisfaction and their departure.
To address this issue, I implemented several measures in my organization. Firstly, I created comprehensive job descriptions for each department, outlining the responsibilities and requirements for every role. This provided clarity and transparency regarding the expectations and potential paths within each department.
Additionally, I established a structured career path for employees within these departments. By mapping out a clear trajectory, we eliminated any inertia or ambiguity surrounding career progression. Employees could now envision the steps they needed to take to make a positive impact and advance within the organization.
Furthermore, we introduced annual review sessions for every employee. During these sessions, we discussed their performance, identified areas for improvement, and collaboratively set new goals that aligned with their career aspirations. This process ensured that employees were actively involved in shaping their career direction and provided them with a sense of purpose and growth.
By making it apparent to employees what they needed to do to reach the next level and by continuously measuring their progress throughout the year, we aimed to foster a culture of continuous development and empower individuals to pursue their career goals within the organization.
Another crucial factor that influences employees’ decisions to leave a company is inadequate compensation and benefits. Employees expect to be fairly rewarded for their skills and contributions, and when they perceive their compensation as uncompetitive or not meeting their expectations, they may be inclined to seek better opportunities elsewhere.
In my role, I recognized the importance of addressing these deficiencies and took initiative-taking steps to improve the compensation and benefits offered to employees. When I initially joined Company Z, the existing benefits package included high deductibles and limited paid benefits, such as health, eye, and vision coverage.
During my tenure of two years, I spearheaded efforts to enhance the benefits package by introducing additional options. We successfully added Long-Term and Short-Term Disability Insurance, Health Savings Account (HSA) options, Life Insurance, and a 401(k)-retirement plan. These additions were made possible through thorough research and strategic decision-making.
To ensure that the revised benefits package was both effective in retaining current employees and appealing to prospective candidates in the labor market, we undertook comprehensive market research and explored different plan options. By being proactive and making bold moves, we were able to assemble a competitive benefits package that addressed the needs and expectations of our workforce.
By offering improved compensation and comprehensive benefits, we aimed to create a more attractive and rewarding work environment, demonstrating to employees that their contributions were valued and that we were committed to their well-being and financial security.
Another critical factor that can contribute to employees leaving their positions is poor management and leadership. When employees have issues with their immediate supervisors or managers, it can lead to frustration, demotivation, and an overall negative work environment. Employees desire to work in an environment where they feel respected, supported, and valued.
Recognizing the significance of effective management and leadership, I implemented several practices to address these concerns in my organization. Firstly, I made it a policy to acknowledge and celebrate employees’ achievements and successes. Whenever someone did something noteworthy or made a positive impact, I ensured their efforts were recognized and shared throughout the organization. This could be done through group emails, using tools like MS Viva to give accolades, or by formally acknowledging individuals at our monthly town hall meetings.
By officially recognizing employees’ contributions, we created a culture of appreciation and encouragement. This not only boosted morale but also demonstrated to employees that their hard work and dedication were valued and recognized by both their peers and higher-ups.
Furthermore, I fostered an environment of open communication and support. I encouraged regular feedback sessions where employees could openly discuss their challenges, ideas, and concerns. This allowed me to address any issues promptly and provide the necessary support or guidance to ensure their success.
Additionally, I prioritized professional development and growth opportunities for employees. By investing in training programs, mentorship initiatives, and career advancement pathways, I demonstrated a commitment to their long-term success and fulfillment within the organization.
By focusing on effective management, fostering a culture of recognition, and providing opportunities for growth, we aimed to create a positive work environment where employees felt empowered, valued, and motivated to excel.
Work-life imbalance and excessive stress can significantly impact employees’ well-being and job satisfaction. When workloads become overwhelming, and there is a lack of balance between personal and professional life, employees may become burnt out and seek opportunities that offer a healthier equilibrium.
To address this issue, it is crucial to prioritize work-life balance within the organization. One approach is to have open and honest conversations with employees about their workload and stress levels. By engaging in coaching sessions, it becomes possible to explain the rationale behind reducing their responsibilities and allowing them to focus on specific objectives where they excel. This approach aims to prevent overloading employees and burning them out quickly.
Maintaining work-life balance is important for several reasons. First, it provides employees with more time to spend with their families and engage in activities that bring them joy and relaxation. This contributes to their overall well-being and happiness, which, in turn, positively impacts their performance and satisfaction in the workplace.
Moreover, a balanced work-life approach can lead to increased productivity and better client outcomes, especially in service-oriented industries. When employees have the time to decompress and recharge, they can bring their best selves to work, resulting in improved client experiences. This creates a win-win situation for all stakeholders involved.
By recognizing the importance of work-life balance and actively promoting it within the organization, employers can foster a healthier and more sustainable work environment. This includes setting realistic expectations, promoting flexible work arrangements when feasible, and encouraging employees to prioritize self-care. Prioritizing work-life balance supports employee well-being and contributes to a positive organizational culture.
The presence of a toxic or unhealthy organizational culture can be a significant factor driving employees away from a company. Issues such as lack of teamwork, poor communication, unethical practices, or a hostile work environment can contribute to employee disengagement and lead them to seek employment elsewhere.
During my time at Company Z, I recognized the need to address these cultural issues on multiple levels. I took on the role of the Chief People Protector (CPP) within the organization, emphasizing the importance of creating a positive and supportive work environment. Prior to my arrival, there was a tendency to engage in finger-pointing and terminating entire groups of people when something went wrong. This created a sense of fear and instability within the organization, which was further exacerbated by negative feedback on platforms like Open Door and LinkedIn.
To initiate positive change, I made it a priority to personally visit each department and every employee to provide reassurance. I assured them that such behavior would not be tolerated in the future and that they could always come to me with any concerns or needs they might have. This was accompanied by the establishment of a 100% open-door policy, which I actively followed through with in practice.
Additionally, I focused on breaking down the barriers between our USA organization and our India delivery teams. By creating an unclouded vision and consistently articulating it to all employees, we were able to unite as one team. This collaborative approach fostered a sense of cohesion, trust, and shared goals, which helped to dismantle the toxic elements of the organizational culture.
As a result of these efforts, we witnessed a significant shift in the company’s culture. Mass firings were replaced with a more supportive and inclusive environment, allowing us to grow rapidly. By prioritizing a positive organizational culture, we created an atmosphere where employees felt valued, supported, and motivated to contribute their best work.
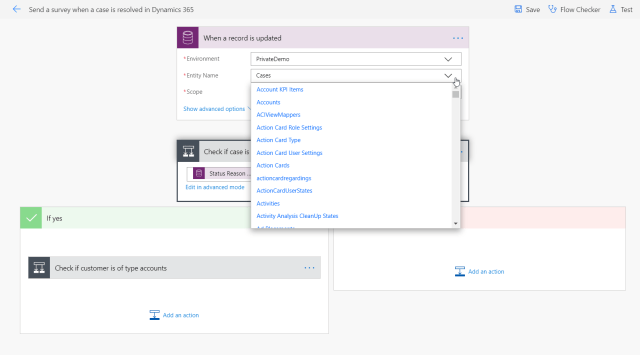
To address the issue of lack of work engagement, I implemented a strategy focused on creating more meaningful and challenging opportunities for employees within the organization. One of the key steps was developing a comprehensive diagram of our future information systems, all based on Microsoft Technologies.
Recognizing the importance of keeping employees engaged and on the forefront of technology, we made the decision to transform our internal projects using Microsoft Technologies. We provided opportunities for employees to work on these projects, leveraging their skills and interests, and allowing them to grow in their chosen technologies.
Over a span of less than two years, we successfully developed and implemented various applications and systems. These included an estimator application, an employee skills matrix, an onboarding and offboarding application, the installation and configuration of Microsoft Viva, the upgrade of Microsoft SharePoint, the migration to Microsoft Business Central, the upgrade of our sales process using Microsoft CRM, the enhancement of our service capabilities with Microsoft Service, the adoption of Microsoft Project Service Operations for project management, and the utilization of Microsoft Teams for collaboration.
The remarkable aspect of these developments was that everything worked together seamlessly through Microsoft Power Automate, enabling streamlined processes and data integration. We were able to generate insightful reports on all this information using Power BI, enhancing our decision-making capabilities.
Furthermore, this initiative brought various practices and departments together, fostering collaboration and knowledge sharing. Our technicians not only became proficient in the products but also gained expertise in deploying and integrating them effectively.
By providing employees with challenging and meaningful work that aligned with their skills and interests, we created an environment where they felt engaged and fulfilled. This approach not only contributed to their personal and professional growth but also enhanced our organization’s competitiveness and ability to deliver outstanding services.
Recognizing the importance of work autonomy and decision-making opportunities for employee satisfaction and engagement, we implemented measures to empower our cohorts and encourage their independent thinking. We allowed them to make decisions regarding the certifications they pursued and gave them a say in the decision-making process for the projects they were assigned to.
However, we encountered challenges with individuals who struggled to think creatively and hesitated to take risks due to a fear of making mistakes. To address this, we shifted our messaging to promote a “Learning Mindset” and fostered a culture of embracing challenges and growth. We introduced the concept of “Climbers vs. Campers,” emphasizing the importance of continuously seeking improvement and making an impact.
Encouraging this behavior became a daily practice, permeating throughout the entire organization. We consistently reinforced the message, not only with existing employees but also during the hiring process. We sought individuals who demonstrated a willingness to take ownership, make decisions, and contribute to the organization’s goals.
By promoting work autonomy and decision-making opportunities, we aimed to create an environment where employees felt empowered, valued, and trusted to make meaningful contributions. This approach fostered a sense of ownership and accountability, which in turn enhanced their job satisfaction and motivation to excel.
Commuting or location-related issues, such as long and stressful commutes or relocation requirements, can indeed be significant factors contributing to employees’ decisions to leave their current positions. Employees may prioritize their work-life balance by seeking opportunities that are closer to their homes or in more desirable locations.
In the case of Company Z, there was a specific instance where an employee was forced to relocate from New Jersey to Texas by the owner, only to be let go just four weeks after starting. The motivation behind this decision was fear of losing control. However, in today’s technological landscape, it is possible to track and evaluate employee contributions without the need for physical proximity. The availability of advanced technologies allows companies to assess employee performance regardless of their location. This realization led to the transformation of the company into a distributed organization, with operations spanning both India and the United States.
By embracing a distributed work model, Company Z was able to address commute and location issues, resulting in a significant rise in employee satisfaction. Employees no longer had to endure long and stressful commutes or face the pressure of relocating. The newfound flexibility allowed them to achieve a healthier work-life balance, leading to increased job satisfaction and potentially reducing the likelihood of seeking alternative employment.
Furthermore, technology enabled the company to track employee contributions and assess their performance effectively, regardless of physical location. This data-driven approach helped ensure transparency and accountability, contributing to a positive work environment.
By acknowledging and addressing commute or location-related challenges, Company Z successfully created a distributed work environment that improved employee satisfaction and well-being.
The unknown personal factors and their impact on employees’ decisions. Personal circumstances, such as changes in family situations, health issues, or the pursuit of higher education, can be significant drivers behind an employee’s choice to seek alternative employment opportunities that better align with their evolving needs.
In my experience at Company Z, I encountered a real-life situation that exemplifies the importance of considering personal factors in the workplace. I had an employee who was dealing with a terminally ill father in her home country. Despite not having accrued the necessary leave time, she approached me expressing her desire to be with her father during his final days. In response, I adhered to my belief that family should always take precedence and granted her the time off. When she returned after three weeks, her position was still waiting for her, acknowledging the importance of her personal circumstances.
Later, she went on to have a child and took birth-related leave. Unfortunately, during that time, her father passed away, and she needed to travel abroad once again. These significant life events occurred within a short six-month period. Consistently, my response remained the same, emphasizing the importance of prioritizing family more than anything else. She was able to take the necessary time off and return to work when ready, knowing that her job was secure, and her needs were understood.
The moral of this story is to always approach employees’ personal circumstances with empathy and compassion. It is essential to recognize that we never know when we may find ourselves in a comparable situation, needing the same understanding and flexibility from our superiors. By demonstrating compassion and providing necessary latitude, employers can foster a supportive work environment where employees feel valued, cared for, and motivated to contribute their best.
In conclusion, it is crucial to acknowledge that there are several reasons why employees may choose to leave an organization. Merely promoting employees who give notice as a retention tactic is not a comprehensive solution. If underlying issues within the organization are not addressed, a vicious cycle can emerge, perpetuating a culture where employees feel they can leverage the threat of leaving to obtain desired outcomes.
To break this cycle, it is essential to focus on improving the organization in key areas. Addressing factors such as limited career growth and development opportunities, inadequate compensation and benefits, poor management and leadership, limited recognition and rewards, work-life imbalance and stress, toxic organizational culture, limited work autonomy and decision-making opportunities, and considering personal factors can help create a more supportive and engaging work environment.
By taking proactive steps to address these issues, organizations can foster a culture of trust, growth, and empowerment. This includes providing clear career paths, fair compensation and benefits, effective leadership, recognition, and rewards for achievements, promoting work-life balance, nurturing a positive organizational culture, offering work autonomy and decision-making opportunities, and showing empathy and understanding towards employees’ personal circumstances. By prioritizing these aspects, organizations can break free from the cycle of employee turnover and build a solid foundation for employee retention, engagement, and long-term success.


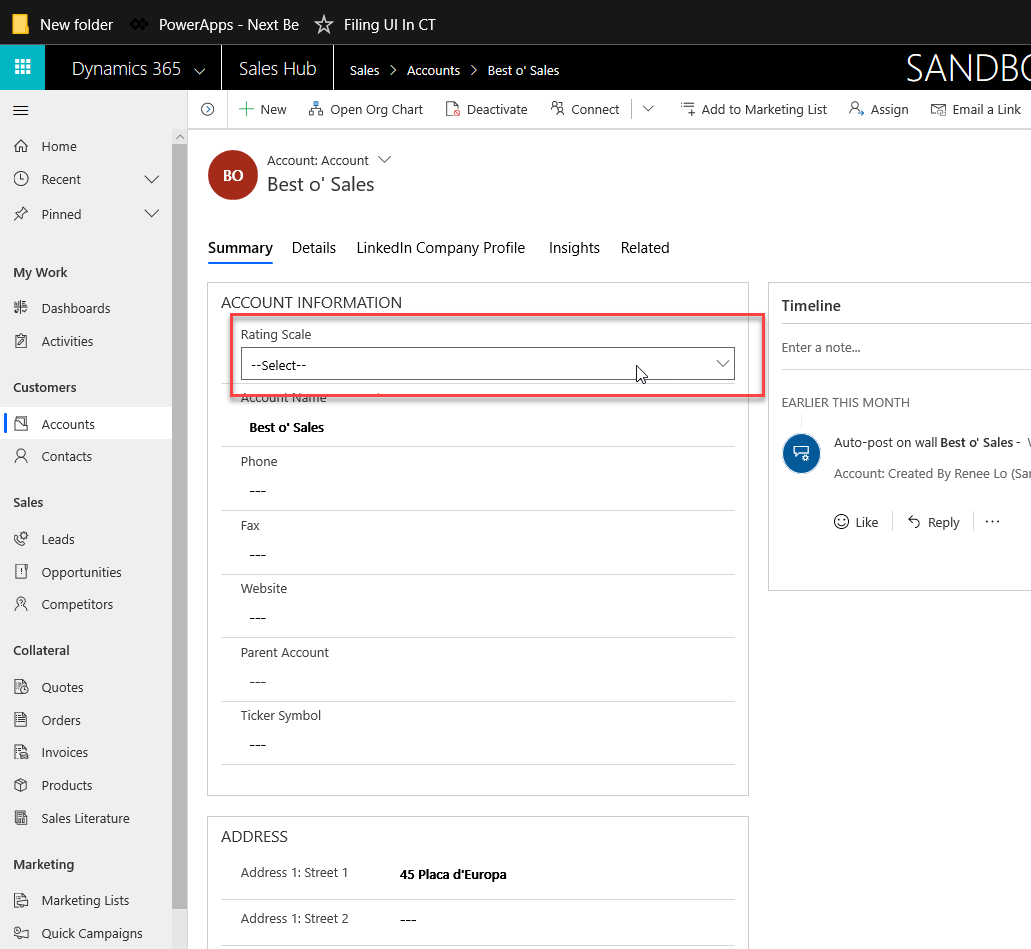
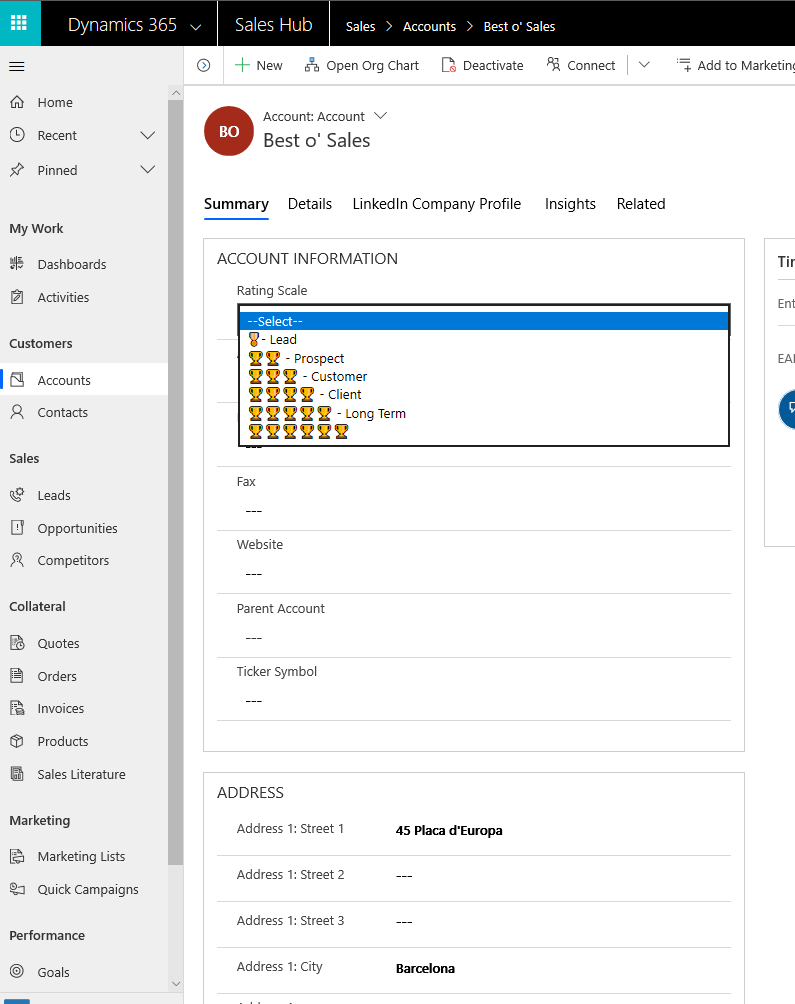
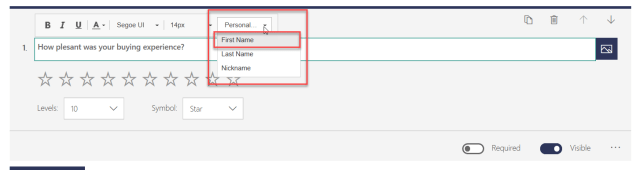
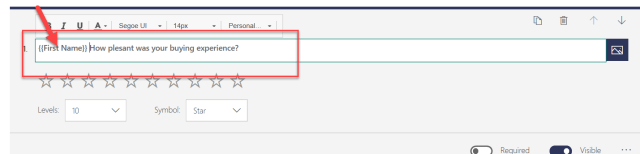
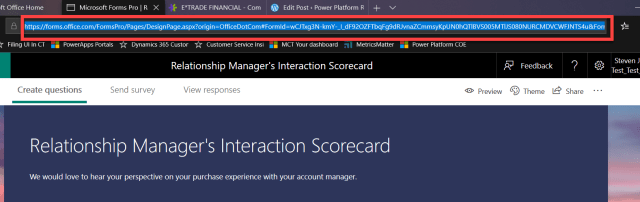
 a. Select the variables you would like to expose on the survey


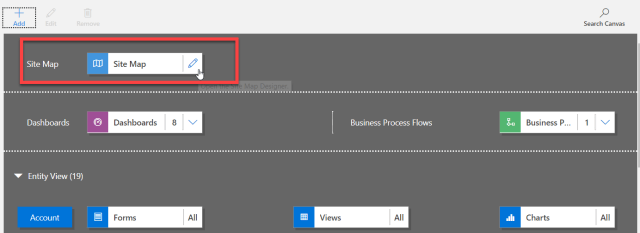

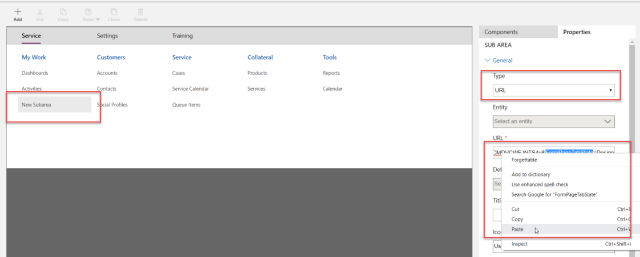


 Select the image of your choice click on the upload option.